I couldn't easily find bows I liked last year, so I came up with a wrapping method that made bows and copious amounts of ribbon unnecessary to make a very pretty wrapped gift. It's come in handy this year for gifts that I want to be pretty but also need the prettiness to not get squished in the mail. All it takes is two types of wrapping paper that go together nicely and a tiny bit of middle school algebra. Ribbon or decorative tape is optional and dresses the end result up while also covering up any jagged edges from cutting the paper.
My wrapped packages turned out like this:


Maybe my math teacher friends will like this, because you could derive the formulas necessary by applying perimeter equations, and it also applies inequalities and "plugging in" numbers for variables. You could make some decent exercises out of this problem, including figuring it out for a cylindrical rather than a rectangular package. It might be a decent Christmas-time comeback for, "When am I ever gonna use this?"
You will need:
>A yardstick or measuring tape
>Two types of wrapping paper
>Scissors
>Tape
>Pencil or pen that won't bleed through the wrapping paper (for marking back of paper)
>Ribbon or decorative tape (optional, but you just have to be really, really careful to cut a straight line or follow the alternate directions below if you don't have it).
Here are the steps for wrapping a rectangular box:
1) Measure the length (L), width (W) and height (H) of the box you will wrap. To be most efficient, it is best if H<W<L (i.e. the height is the smallest edge of the box, and the length is the longest).
My package had H = 3.5 cm, W = 15 cm, and L = 21 cm, so this is what I will plug into the formulas below.
Write down the measurements you made, and lable them as H, W, and L so you don't get them mixed up later.

2) Figure out how much paper you will need to wrap the box. You will need a rectangle with a length that runs all the way around the box (H+W+H+W = 2H+2W) and a width that will cover up the top half of the box (0.5H+L+0.5H = L+H) like in the diagram below.

You should also include a bit of room as a buffer, just because no one cuts perfectly straight, and you will have a little piece of package not covered by paper anywhere you wavered. (0.5 inches or 1cm should be fine. I picked buffer = 1cm. Choose 2 cm or 1 inch if you do not have ribbon or decorative tape and do not trust your cutting skills to be perfect.)
So the rectangle I would cut out of paper (if I were only using one type of paper) would have length: 2H+2W+2buffer = 2 * 3.5 cm + 2 * 15 cm + 2 * 1 cm = 7cm + 30cm + 2cm = 39 cm
and width:
L+H+2buffer = 21cm + 3.5cm + 2 * 1cm = 21cm + 3.5cm + 2cm = 26.5 cm
Calculate the lengths and width of the rectangle you would need for your measurements and write those down as labels on a drawn rectangle like in the picture below (you only need to write down the parts in black, the rest are just a visual explanation of how I came up with the formulas). Be very careful if you use a calculator. Always do multiplication before addition. If you enter 1+2*3 into a typical calculator, it might give you 9 while the correct answer is 7. The 25.5 in the picture is a typo; it should be 26.6.

3) To make the diagonal line between the papers, you need to pick a number. We can call it X. The only restriction is that X should be larger than 0.5H+buffer, but smaller than or equal to 0.5L+0.5H+buffer. It shouldn't be too small, or you can easily get some paper to stick out from the side of the package. And the larger boundary is just where the "diagonal" line between the papers will run parallel to the sides of the package.
X is what determines the steepness of the diagonal line spiraling around your package down the length of the package. The smaller it is, the more dramatic the line. If it is equal to 0.5L+0.5H+buffer, then the line is parallel to the sides.

I chose X to make the steepest diagonal I could on my package, so X = buffer + 0.5H = 1 cm + 0.5*3.5 cm = 1 cm + 1.75 cm = 2.75 cm.
Once you pick your X, write it down and label it X. Then draw it on your rectangle like this:

4) Next, calculate the difference between your rectangle's width and X. For me, it was 26.5 - 2.75 cm = 23.75 cm. Label your rectangle like this:

5) Now it's time to cut the shapes you made on your drawn rectangle from the wrapping paper using the calculations you made. You use one type of paper for each of the two parts that make up the rectangle. You should use a pencil to mark the measurements on the wrong side of the paper. You will need to measure the lengths from your drawing, and connect the dots with a straight edge like a yardstick or large book (or, in my case, an empty canvas I had lying around).

5) Since the two shapes that make up your rectangle are the same (just rotated), you don't have to measure twice. You can just trace one cut piece of paper onto the other type of paper (or you can measure it just the same). Just remember to keep working on the wrong side of the paper (or the shapes won't fit together the way they should).
6) Tape the pieces of paper together from the wrong side to make a rectangle as shown in the picture. If you don't have ribbon or decorative tape, weren't so sure about your cutting skills, and used a bit of extra buffer, feel free to fold 1 buffer length of paper back along the diagonal line of each paper before taping the papers together. If you layer one paper a little over the other after doing this, you should get a nice straight line with no gaps.

7) Now just wrap your present as you would any other.


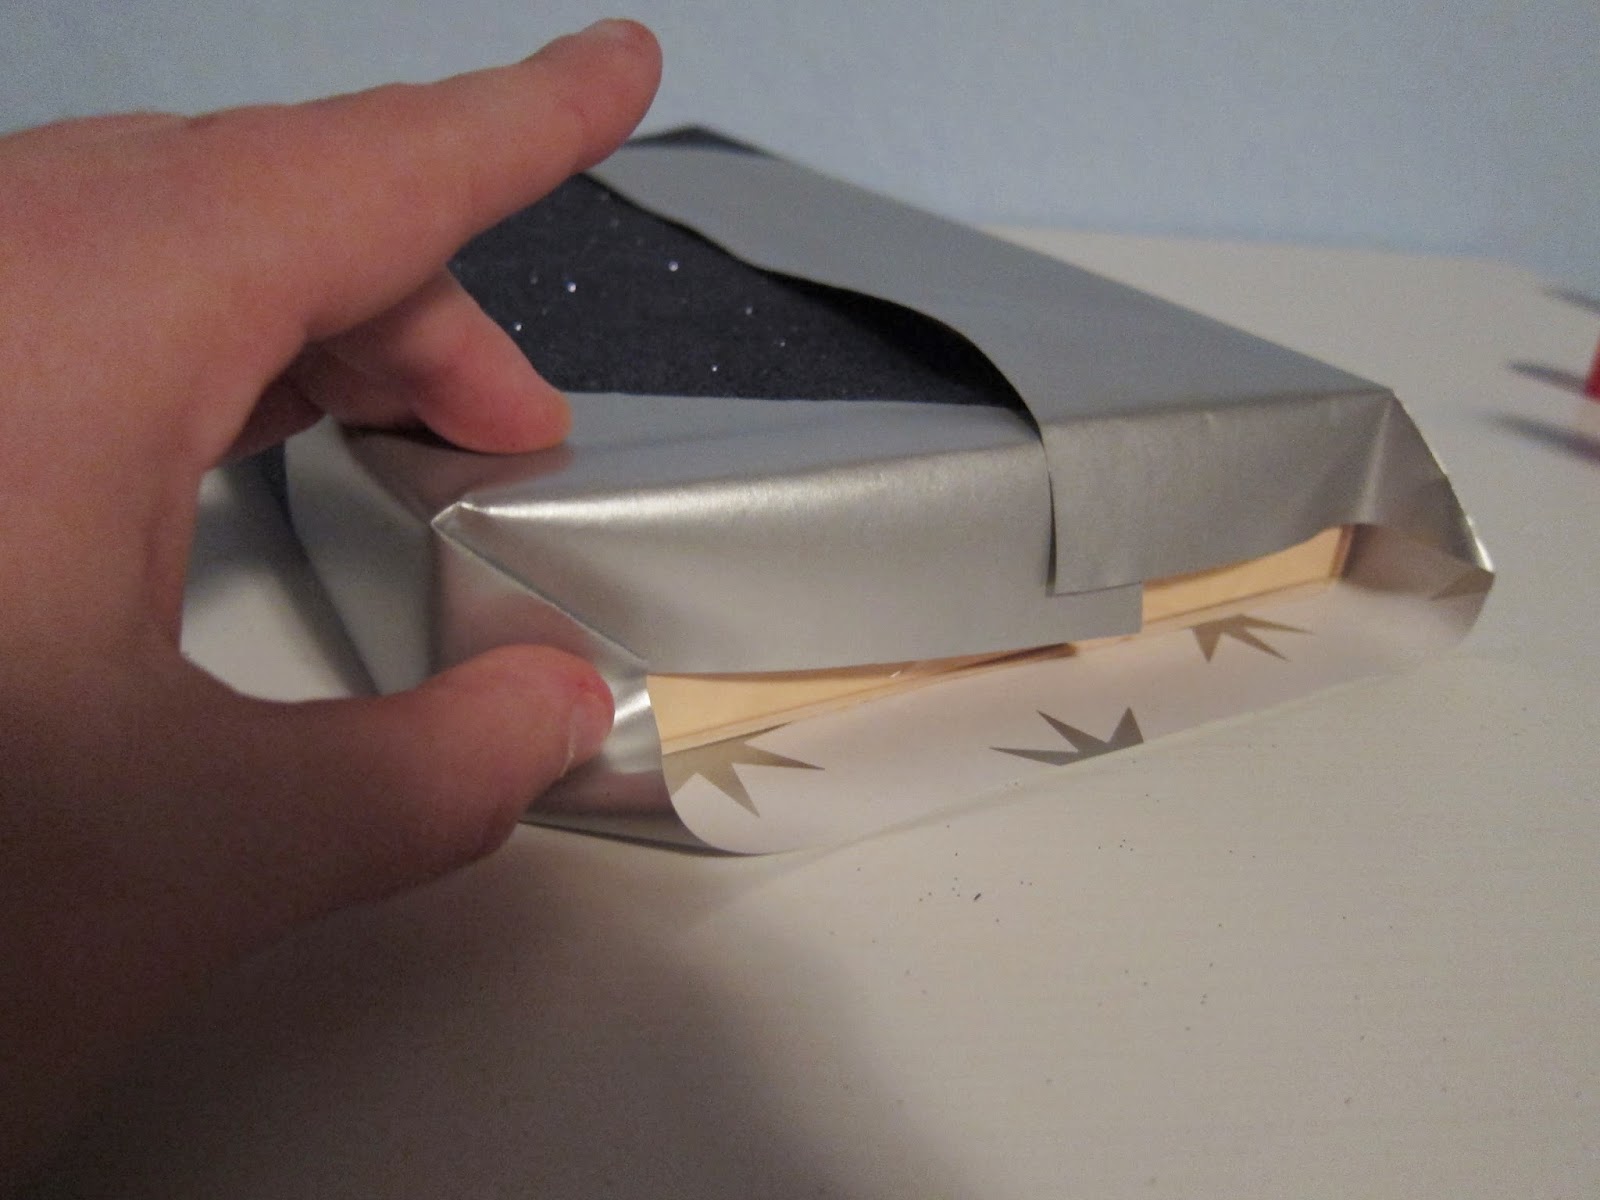


8) And finish off with the ribbon or decorative tape. I also added a homemade bow to this one, since it didn't need to be mailed.


Good and helpful instruction! Thanx ;)
ReplyDelete